Why worms? You want to recycle your food scraps; you
don’t want to buy plant food; you want the best fertilizer that is the most
accessible to plants, you want to create
a healthy soil structure with good drainage and you don’t want to worry when
you leave town for a 2 -3 weeks!
3 BASIC STEPS
1. Equipment
and Supplies
worm bin:
Buy or make your own. How big?
One square foot of surface area for each pound
of food scraps generated per week. Worms need oxygen! One solution:
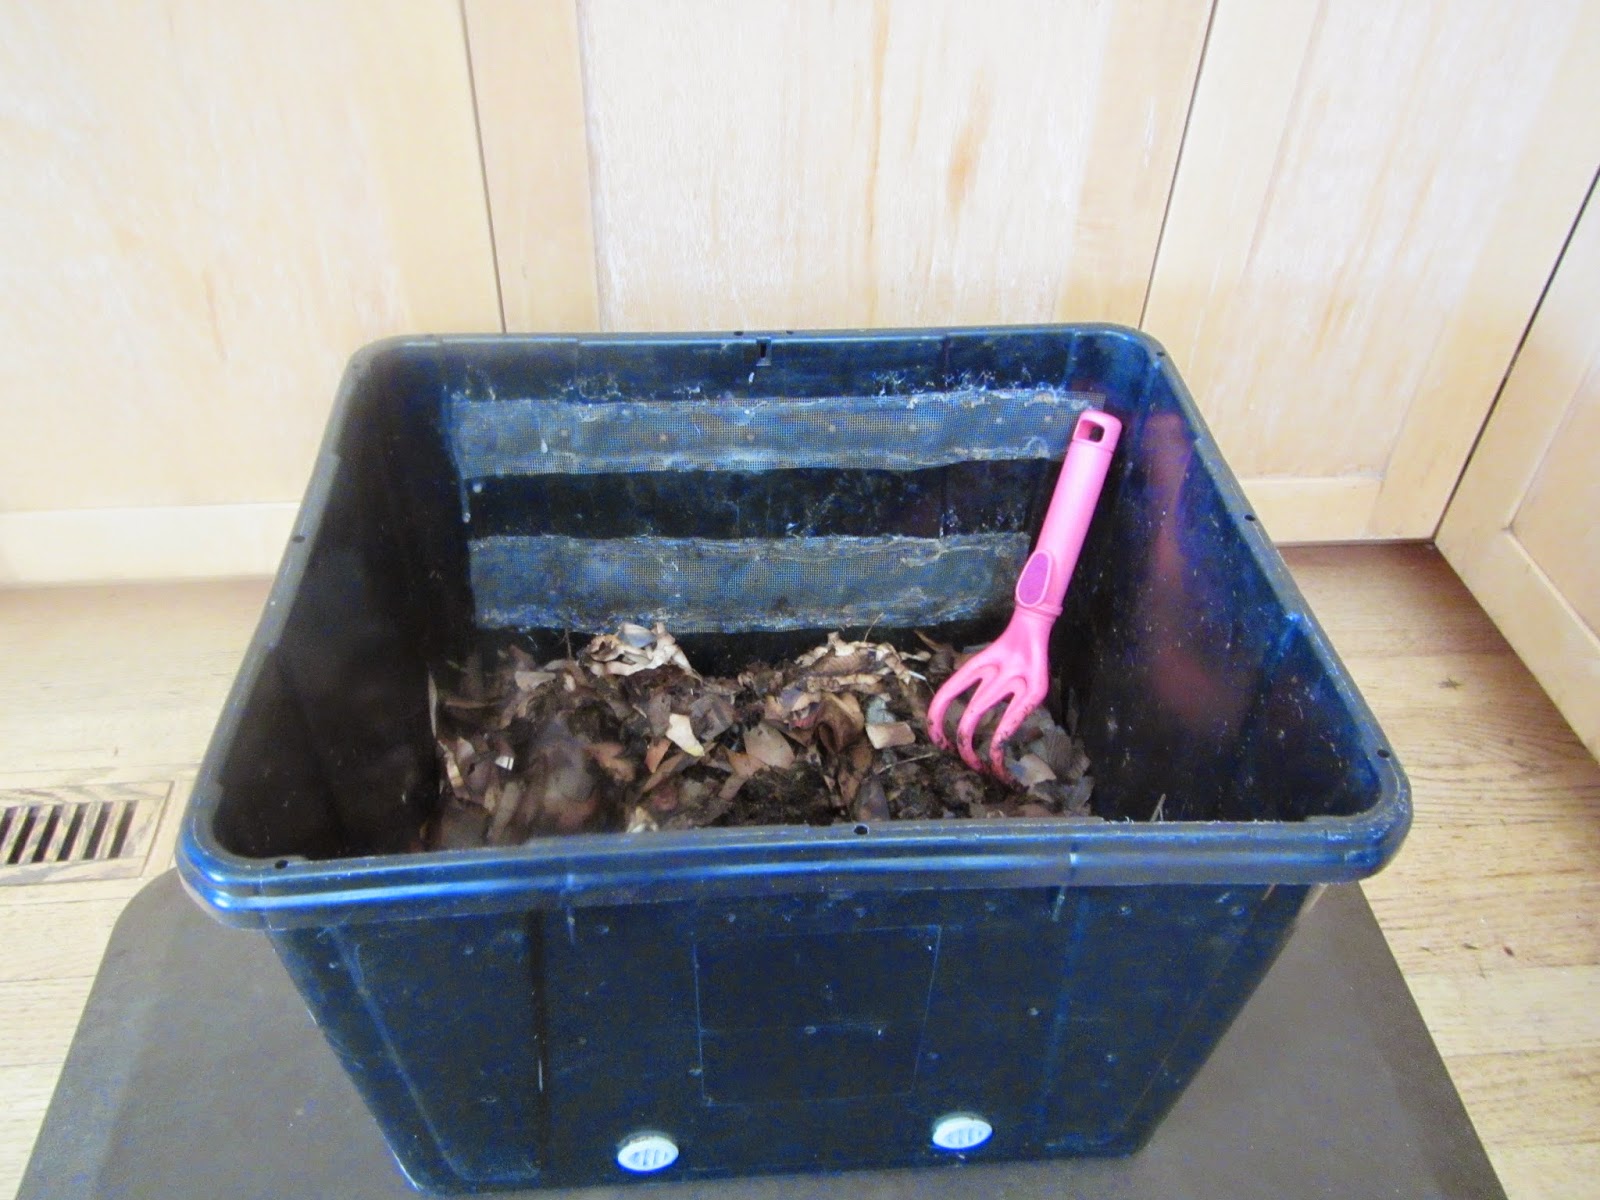
Drill about ten 1/8” holes at the top of both sides of a plastic
container (2-foot by 1-foot plastic bin with lid that is 8 to 20 inches deep.).
For drainage, drill six ¼-inch holes, equally dispersed, along the bottom of
each side of the bin. I hot glued some screen on the inside. Put your bin on a plastic tray to catch any
extra water.
bedding: For a 2’ x 2’ plastic bin, tear or shred about 2 -4 lbs. of black and white newspaper, office
paper or cardboard. Soak this in water,
squeeze the water completely out and put it in the bin. Fluff it up so that your bin is about 2/3
full. Add a couple of handfuls of
healthy garden soil to introduce beneficial microorganisms and aid the
earthworms’ digestive process (they have gizzards, not teeth, that help them
break down the food). If the bedding
gets dry, spray some water over the top.
worms: There are over 4,000 species of earthworms but
only eisenia fetida (common name: red wigglers) are best suited for
vermicomposting. You will need about 1
lb (about 1000 worms) for each square foot of surface area of your bin. Find them on line or from any worm farmer, as
they need to be divided 1 -2x/year.
Spread them across the bedding and let them settle in for a couple of
days before feeding them.
food scraps: Worms like vegetables, fruits, crushed
eggshells, tea bags, coffee grounds, shredded paper and coffee filters. To speed up the process I usually chop up the
scraps. It takes a long time for them to
eat citrus and seeds so I avoid these. Meat
attracts rodents! Bury the scraps in one
corner of the bin. Alternate corners
with each feeding. I usually wait until
most of the food is gone before giving them more. To
avoid fruit flies, bury the food and don’t overfeed them!
2. Harvesting your vermicompost This is a
mixture of worm castings and
partially decomposed bedding and food scraps.
The more varied the diet, the more nutritious the castings. In about 3 – 4 months you will be ready for your
first harvest. Here are two ways to
separate out the castings:
·
Feed your worms on one side of the bin for 3 – 4
weeks, and then remove the castings from the other side. Add new bedding to this area and feed them
some of their favorite food. Reverse the
process. At this point, you will
probably have too many worms for this size bin so give some away! There will be some stragglers in the castings
so pick them out or they will die.
·
Worms do NOT like light. Shine a light on top of the farm, wait a few
minutes for the worms to dive down, remove the castings from the top
layer. Repeat.
3. Using your
vermicompost
·
Mix the vermicompost into your garden soil or
dig it in around trees and shrubs. For optimum results castings to soil ratio
is 1:4
·
Mix it into potting soil for container plants.
·
Make ‘worm tea’ by adding 2 tablespoons of
vermicompost to one quart water and let it steep for a day, mixing
occasionally. Use within 24 hours.
Read more:
·
http://www.bae.ncsu.edu/topic/vermicomposting/pubs/ag473-18_wormsrecycle-revised-2012.pdf NCSU Worms Can Recycle Your Garbage
·
Worms Eat
My Garbage by Mary Appelhof.
Kalamazoo: Flower Press, 1997.
This is the bible for worm farming!
·
The Earth
Moved by Amy Stewart, Algonquin Books of Chapel Hill, 2005. A page turner on the remarkable achievements
of worms.
The NPK (nitrogen, phosphate, and Potassium) are locked in
the castings (worm poop) and released
into the plants slowly as micro-organisms break it down.


No comments:
Post a Comment